Let me know if you have any issues with it or want any mod to it! ![]()
Got a new and much improved Script that ill be adding in soon!!
The new script even handles object variables!!
But for now, check this out, im doing some stress testing on it and…
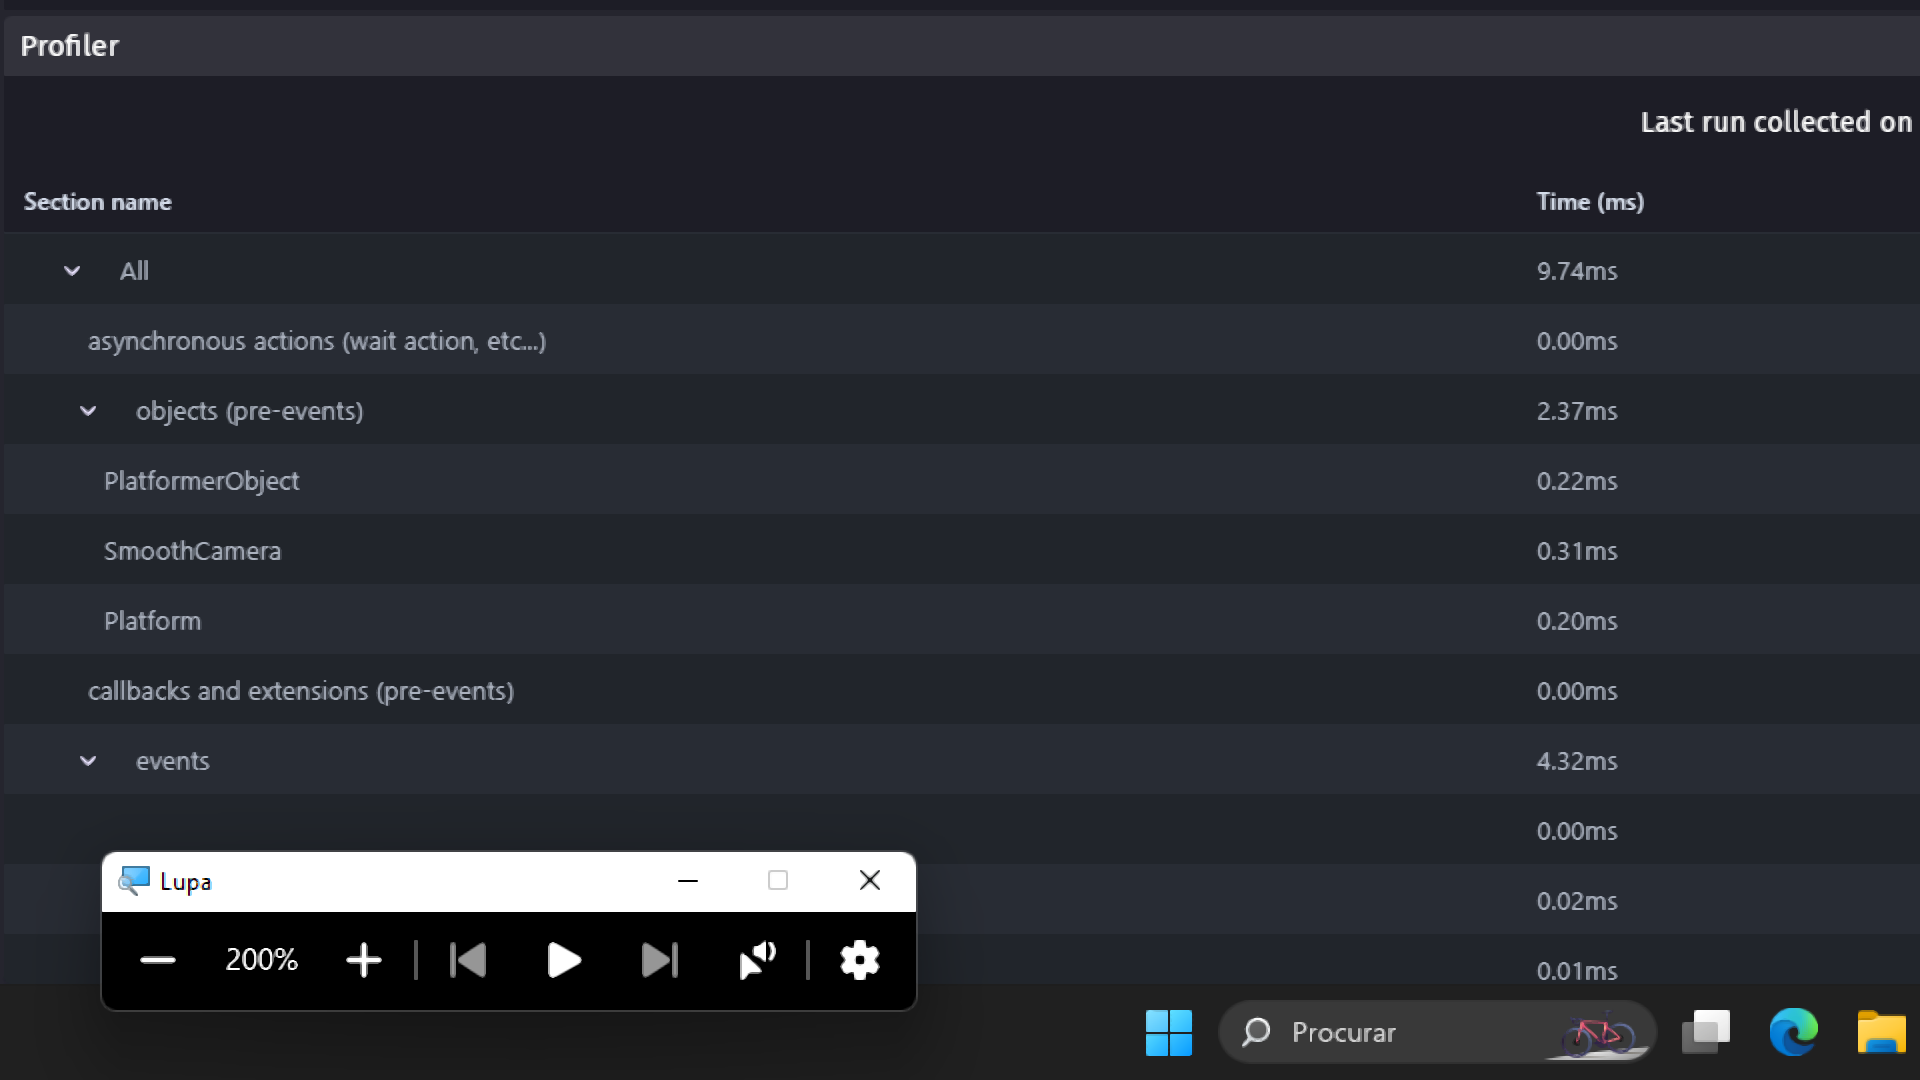
Objects are 64x64 and the resolution 1280x720
The culling buffer is set to 300
On a game world with 15.000 Objects living in the scene
- The script runs around 0.50ms

On a game world with 30.000 Objects living in the scene
- The script runs between 0.50ms to 1.20ns

On a game world with 120.000 Objects living in the scene
- The script is running at 4.00ms
- This is a completely un optimized way of using it, at this world size, we should be dividing it into chunks to cull first and only then apply our script
- This is only for stress testing
1 Like
HUMMnnn… As just a small update, i accidentally made something even better than i thought lol ![]()
So as it turns out when i asked for data storage to be implemented it made it able for us to check objects data, like position, even tho the object is culled.
So you can still use an object position, even tho its not there, and because its not actually there, it dosent suck up massive amounts of performance!!!
Dude, this is seriously gonna change GDevelop, no exageration.
I honestly have no idea why this isnt a thing already.
Ill be posting the new script soon! I just want to add one more thing to it!!
2 Likes
I asked ChatGPT to try and explain what was going on to me, this is what he said, in case anyone is interested how the accidental awesomeness happened lol
The reply:
I’m glad to hear that the accidental change is working well for your project! Based on the description of your scenario, I can explain what’s likely happening in the script and why your world generation is still functioning correctly even after the culling.
Explanation:
-
Object Culling vs. Object Data Storage:
- When the script culls an object, it deletes the object instance from the scene to save resources. However, before deleting the object, the script saves the object’s data, including its position and variables, in
runtimeScene.deletedObjects. - This means that although the object instance is removed from the scene, its essential information is still stored in memory.
- When the script culls an object, it deletes the object instance from the scene to save resources. However, before deleting the object, the script saves the object’s data, including its position and variables, in
-
Recreation Logic:
- The stored data in
runtimeScene.deletedObjectsallows the script to recreate the object when it comes back within the culling boundaries. - Since the object’s data (including its variables) is stored and restored, the object can continue to serve its purpose when recreated, maintaining any necessary state or behavior.
- The stored data in
-
Continued Functionality of the World Generator:
- It appears that your world generation logic relies on the data or state of the object, rather than the presence of the object instance itself.
- Even if the object is culled, as long as the object’s data is retained and can be restored, the world generator can still function based on that stored data.
Key Points in the Script:
-
Data Storage:
// Store the position, name, and variables to recreate later if (!runtimeScene.deletedObjects[objectName]) { runtimeScene.deletedObjects[objectName] = []; } const objectVariables = {}; const objectVariablesList = variables._variables.items; for (const variableName in objectVariablesList) { if (objectVariablesList.hasOwnProperty(variableName)) { objectVariables[variableName] = objectVariablesList[variableName].getAsString(); } } runtimeScene.deletedObjects[objectName].push({ x: objectX, y: objectY, variables: objectVariables }); -
Data Restoration:
// Restore variables
const targetVariables = newObject.getVariables();
const sourceVariables = data.variables;
for (const variableName in sourceVariables) {
    if (sourceVariables.hasOwnProperty(variableName)) {
        targetVariables.get(variableName).setString(sourceVariables[variableName]);
    }
}
Summary:
The script ensures that all necessary data for objects is stored before they are culled. This stored data includes positions and variables, which are crucial for maintaining the object’s state. When objects are outside the camera view and thus culled, the data is preserved. When objects come back within the view, they are recreated with their original state, including all variables.
This means that your world generation logic can still rely on the stored data of the culled objects. Since the objects’ essential information is retained and recreated as needed, the world generation process continues to function correctly even if the objects themselves are temporarily removed from the scene.
Conclusion:
In essence, the script’s data storage mechanism before culling and its data restoration mechanism upon recreation are why your world generation continues to work seamlessly. This approach ensures that the logical state of your game world remains consistent, even if certain objects are not actively present in the scene.
4 Likes
Now that i noticed i’m already using this “culling” method (since it is basically a delete and recreate) but by rooms.
I just have an event who check if the player is in the room and delete everything outside…I wonder which one is simplier.
Stil GL whit yur script
New version is now up and running, tis way better!!! Even with objects culled you can still use their data and properties, like checking their position and such!!
This new version turned out amazing, i even added the feature to permanently cull objects, so that you can delete staying bullets without any events or logic.
Hope you guys enjoy!
4 Likes
That is great. Is the script useful if off-screen objects have to maintain behaviors, move, collide and so on? I imagine that everything that depends on the animation number, frame number and so on would have to be replaced by variables in that case, right?
1 Like
Sadly no, it dosent work for that. ![]()
You can acess information on the object, but not collisions and such, i also have no idea about behaviors.
1 Like
EDIT Everything was fixed in the new version! 3.0 ![]()
I just found an issue that ill have to fix tomorrow.
The script dosent recreate all the properties, i need to add size and scale to it as well, also z order as such.
I dont have any tiles sprites on my recent projects, so i tried it on a old project that did and the result isnt very good, tiles sprites or sprites that were previously changed in size in the editor get recreated with their original size, which is an issue…
Like i said, ill try to fix it tomorrow and add it in when its done ![]()
3 Likes
New version is now out!! 3.0!!
-
The script now works perfectly with Tiled Sprites
-
Objects now get culled based on their Bounding Box and not their Origin Point, this ensures objects that are still in view but the Origin Point is not, dont get culled untill the entire object is out of view.
-
Recreating works the same, if the bounding box is in view, then the object is recreated.
-
More property handling to faithfully recreate objects, things like Size, Angle, Hidden/Showing and more was added.
-
Objects now get recreated with the same size they were culled, same for angles, or if the object was hidden, it will be set as hidden again.
-
All previous information is still being stored, like X and Y Position, to be called on and used even if the object is Culled.
I think at this point it does quite literally everything except for collision, and thats impossible without keeping the object in scene.
Every method i tried for collision while objects are culled does not work, at least for me, the performance gained is minimal, if any, completly deleting the object like my script does is the only way iv found of deastically improving performance.
2 Likes
Got a new shinny version 4.0!
The new version handles object timers, storing them and recreating while “sort of” keeping them running even when the object is culled.
What is actually happening is the timer is stored, then when it gets recreated, the elapsed time between cull and recreation is added to the object, essentially keeping it running.
If instead youd like the object timer to do things like “every x seconds add to a variable”, you can simple exclude the object that has that timer from being culled.
Version 4.0 will be put up tomorrow after i do some more testing and making sure it cant be optimized more! ![]()
This has been fun but its getting close to the definitive version! ![]()
If any of you has any feedback, it would be much appreciated!
2 Likes
I think you should make it an extension it would be great
Please sorry to say I got lost on the way this was exactly what my chatgpt app told me but I didn’t understand the process of culling still confused
Let me just go straight to the point I want to use this to make my Minecraft game performance better since it deals with so many blocks
2 Likes
You dont need permission ![]() You can use it in your game!
You can use it in your game!
All i ask is if you can, please give me feedback if its working for you, if theres anything wrong or if youd like any mod to it ![]()
Also, i got a new version coming later that handles restoring object timers! I just need to make sure its optimized first
1 Like
Great ![]()
![]()
Cuz this a huge leap in gdevelop now with your code my Minecraft game will be able to work on Low end devices
1 Like
Check back later for the updated script that handles timers! It might be helpful to you!
You can use this one fore now, and then later simply replace the script, its that simple to update ![]()
1 Like
After a day of testing, version 4.0 is now up!
It does everything 3.0 did but it also includes handling Object Timers!!
Hope you guys enjoy! ![]()
This is very good progress! Good job! Is there a possibility of it being included in Gdevelop? Maybe as an extension?
1 Like
If they want to make it into an extension they more then have my blessing for it i think it would be an awesome addition.
Specially since most of the work is pretty much done.
Reason im not making it into an extension and submitting it is because honestly, i have no clue how lol
Iv looked into it, but i dont know how to make in a flexible way where people can just add it to their projects and it will work just like it is now.
So if the devs want to have a go at it, its appreciated help ![]()
1 Like
For anyone who wants to read on what exactly goes on in the script, heres all the info on how it works!
Version 4.0
Overview
This script is designed to improve the performance of a game made with GDevelop 5 by culling (removing) objects that are outside the camera view and then restoring them when they come back into view. This is achieved by storing the state of objects before they are culled and restoring their state when they are recreated.
Detailed Breakdown
Initialization and Setup
-
Initialize Deleted Objects Storage: The script starts by checking if a property
deletedObjectsexists onruntimeScene. If it doesn’t exist, it initializes it as an empty object. This object will be used to store the state of culled objects.if (!runtimeScene.deletedObjects) { runtimeScene.deletedObjects = {}; } -
Get Camera Information: The script fetches the camera position and size once. This is used to determine the visible area and calculate the boundaries for culling.
const cameraLayer = runtimeScene.getLayer(""); const cameraX = cameraLayer.getCameraX(); const cameraY = cameraLayer.getCameraY(); const cameraWidth = cameraLayer.getCameraWidth(); const cameraHeight = cameraLayer.getCameraHeight(); -
Get Cull Buffer: The script retrieves the
CullBufferscene variable. This variable is used to add a buffer zone around the camera’s visible area to prevent objects from being culled too aggressively.const cullBuffer = runtimeScene.getVariables().get("CullBuffer").getAsNumber(); -
Calculate Culling Boundaries: The script calculates the left, right, top, and bottom boundaries for culling based on the camera position, size, and cull buffer.
const leftBoundary = cameraX - cameraWidth / 2 - cullBuffer; const rightBoundary = cameraX + cameraWidth / 2 + cullBuffer; const topBoundary = cameraY - cameraHeight / 2 - cullBuffer; const bottomBoundary = cameraY + cameraHeight / 2 + cullBuffer; -
Get All Object Instances: The script retrieves all object instances in the scene.
const allObjectsInstances = runtimeScene.getAdhocListOfAllInstances();
Processing Objects for Culling
-
Set Up for Processing in Batches: To avoid spikes in CPU usage, the script processes objects in batches. It determines the start and end indices for the current batch based on a scene variable
CullStartIndex.const maxObjectsPerFrame = 50; // Adjust this number based on performance needs const startIndex = runtimeScene.getVariables().has("CullStartIndex") ? runtimeScene.getVariables().get("CullStartIndex").getAsNumber() : 0; const endIndex = Math.min(startIndex + maxObjectsPerFrame, allObjectsInstances.length); runtimeScene.getVariables().get("CullStartIndex").setNumber(endIndex === allObjectsInstances.length ? 0 : endIndex); -
Get Current Time: The script gets the current scene time. This is used to track when objects are culled.
const currentTime = runtimeScene.getTimeManager().getTimeFromStart() / 1000; // Time in seconds -
Iterate Over Objects: The script iterates over the objects in the current batch. For each object, it performs the following checks and actions:
for (let i = startIndex; i < endIndex; i++) { const object = allObjectsInstances[i]; const objectName = object.getName(); const objectLayer = object.getLayer();-
Skip Non-Base Layer Objects: Only objects on the base layer (default layer) are processed.
if (objectLayer !== "") continue; -
Skip Objects Excluded from Culling: If an object has a variable named
ExcludeCullset to true, it is skipped.const variables = object.getVariables(); if (variables.has("ExcludeCull") && variables.get("ExcludeCull").getAsBoolean()) { continue; } -
Get Object Bounding Box: The script gets the object’s bounding box to check its position relative to the culling boundaries.
const aabb = object.getAABB(); const objectLeft = aabb.min[0]; const objectRight = aabb.max[0]; const objectTop = aabb.min[1]; const objectBottom = aabb.max[1]; -
Check Culling Conditions: If the object is completely outside the culling boundaries, it is marked for deletion or storage and deletion.
if (objectRight < leftBoundary || objectLeft > rightBoundary || objectBottom < topBoundary || objectTop > bottomBoundary) {
    if (variables.has("Cull") && variables.get("Cull").getAsBoolean()) {
        objectsToDelete.push(object);
    } else {
- **Store Object Properties**: The script stores the object's properties (position, angle, layer, hidden state, variables, timers, and culling time) for later restoration. ```javascript if (!runtimeScene.deletedObjects[objectName]) { runtimeScene.deletedObjects[objectName] = []; } const objectProperties = { x: object.getX(), y: object.getY(), zOrder: object.getZOrder(), angle: object.getAngle(), layer: objectLayer, hidden: object.isHidden(), variables: {}, timers: {}, cullTime: currentTime }; // Store object variables const objectVariablesList = variables._variables.items; for (const variableName in objectVariablesList) { if (objectVariablesList.hasOwnProperty(variableName)) { objectProperties.variables[variableName] = objectVariablesList[variableName].getAsString(); } } // Store object timers if (object._timers && object._timers.items) { const timerItems = object._timers.items; for (const timerName in timerItems) { if (timerItems.hasOwnProperty(timerName)) { objectProperties.timers[timerName] = timerItems[timerName].getTime() / 1000.0; // Store the timer value in seconds console.log(`Stored timer ${timerName} for object ${objectName} with time ${objectProperties.timers[timerName]}`); } } } else { console.log(`Object ${objectName} does not support timers or has no timers.`); } runtimeScene.deletedObjects[objectName].push(objectProperties); objectsToStoreAndDelete.push(object); -
-
Delete Objects: The script deletes the objects that are marked for deletion.
for (let i = 0; i < objectsToDelete.length; i++) {
    objectsToDelete[i].deleteFromScene(runtimeScene);
}

for (let i = 0; i < objectsToStoreAndDelete.length; i++) {
    objectsToStoreAndDelete[i].deleteFromScene(runtimeScene);
}
Restoring Culled Objects
-
Get Current Time for Restoration: The script gets the current scene time to calculate the elapsed time since the objects were culled.
const restoreTime = runtimeScene.getTimeManager().getTimeFromStart() / 1000; // Time in seconds -
Iterate Over Stored Objects: The script iterates over the stored objects to recreate them if they are within the visible boundaries.
const deletedObjects = runtimeScene.deletedObjects; for (let objectName in deletedObjects) { const objectList = deletedObjects[objectName]; for (let i = objectList.length - 1; i >= 0; i--) { const data = objectList[i]; const objectLeft = data.x; const objectRight = data.x + (data.width || 0); const objectTop = data.y; const objectBottom = data.y + (data.height || 0); if (objectRight >= leftBoundary && objectLeft <= rightBoundary && objectBottom >= topBoundary && objectTop <= bottomBoundary) { -
Calculate Elapsed Time: The script calculates the elapsed time since the object was culled.
const elapsedTime = restoreTime - data.cullTime; -
Recreate Object and Restore Properties: The script recreates the object and restores its properties including position, angle, layer, hidden state, variables, and timers (adjusting for elapsed time).
const newObject = runtimeScene.createObject(objectName); newObject.setPosition(data.x, data.y); newObject.setZOrder(data.zOrder); newObject.setAngle(data.angle); newObject.setLayer(data.layer); // Restore optional properties if (data.width !== undefined && newObject.setWidth) { newObject.setWidth(data.width); } if (data.height !== undefined && newObject.setHeight) { newObject.setHeight(data.height); } if (data.opacity !== undefined && newObject.setOpacity) { newObject.setOpacity(data.opacity); } // Restore hidden state if (data.hidden !== undefined) { newObject.hide(data.hidden); } // Restore variables const targetVariables = newObject.getVariables(); const sourceVariables = data.variables; for (const variableName in sourceVariables) { if (sourceVariables.hasOwnProperty(variableName)) { targetVariables.get(variableName).setString(sourceVariables[variableName]); } } // Restore timers and add elapsed time const objectTimers = data.timers; for (const timerName in objectTimers) { const timerValue = objectTimers[timerName]; newObject.resetTimer(timerName); // Reset the timer with the same name newObject._timers.get(timerName).setTime((timerValue + elapsedTime) * 1000); // Add elapsed time to the timer value console.log(`Restored timer ${timerName} for object ${objectName} with time ${timerValue + elapsedTime} seconds`); } // Remove from the list after recreation objectList.splice(i, 1); -
Clean Up Empty Lists: After recreating objects, the script cleans up any empty lists to free memory.
if (objectList.length === 0) {
    delete deletedObjects[objectName];
}
Summary of the Script
-
Initialization:
- Sets up a storage object for deleted objects (
runtimeScene.deletedObjects). - Retrieves camera position and size.
- Calculates culling boundaries based on camera size and a buffer.
- Sets up a storage object for deleted objects (
-
Processing Objects for Culling:
- Processes objects in batches to avoid CPU spikes.
- Skips objects on non-base layers and those marked as excluded from culling.
- Checks if objects are outside the culling boundaries.
- Stores properties of objects to be culled, including their position, variables, and timers.
- Queues objects for deletion.
-
Deleting Culled Objects:
- Deletes objects that are outside the culling boundaries.
-
Restoring Culled Objects:
- Recreates objects that have moved back into the visible area.
- Restores their properties, including position, variables, and timers (with elapsed time added).
-
Clean Up:
- Cleans up the storage to free memory by removing empty lists.
How Storing and Restoring Timers Works
-
Storing Timers:
- Before deleting an object, the script captures its timers and stores them in
runtimeScene.deletedObjects. - It stores the elapsed time of each timer in seconds.
- Before deleting an object, the script captures its timers and stores them in
-
Restoring Timers:
- When recreating an object, the script restores its timers by resetting them and setting their time to the stored value plus the elapsed time since culling.
Conclusion
This script efficiently manages the culling and restoration of objects to improve game performance in GDevelop 5. By carefully storing and restoring object properties and timers, it ensures a smooth and consistent game experience without losing the state of objects that move out of and back into the camera’s view.
5 Likes
Great
I can try to make it into an extension
When I’m less busy
But I don’t know how to setup extension icon so it will just have the gdevelop icon
If am done turning it into an extension I’ll send it to you
1 Like