Made this app cuz me n my friend couldn’t put more under those subscriptions. Letter to my boy @Arma-3GO for knocking down that hard part.
However, we’ve been working on an app that lets you build your GDevelop games for free, with no subscriptions at all. Just export and dine! You can even see it while being offline too.
Here's some pics n the export results
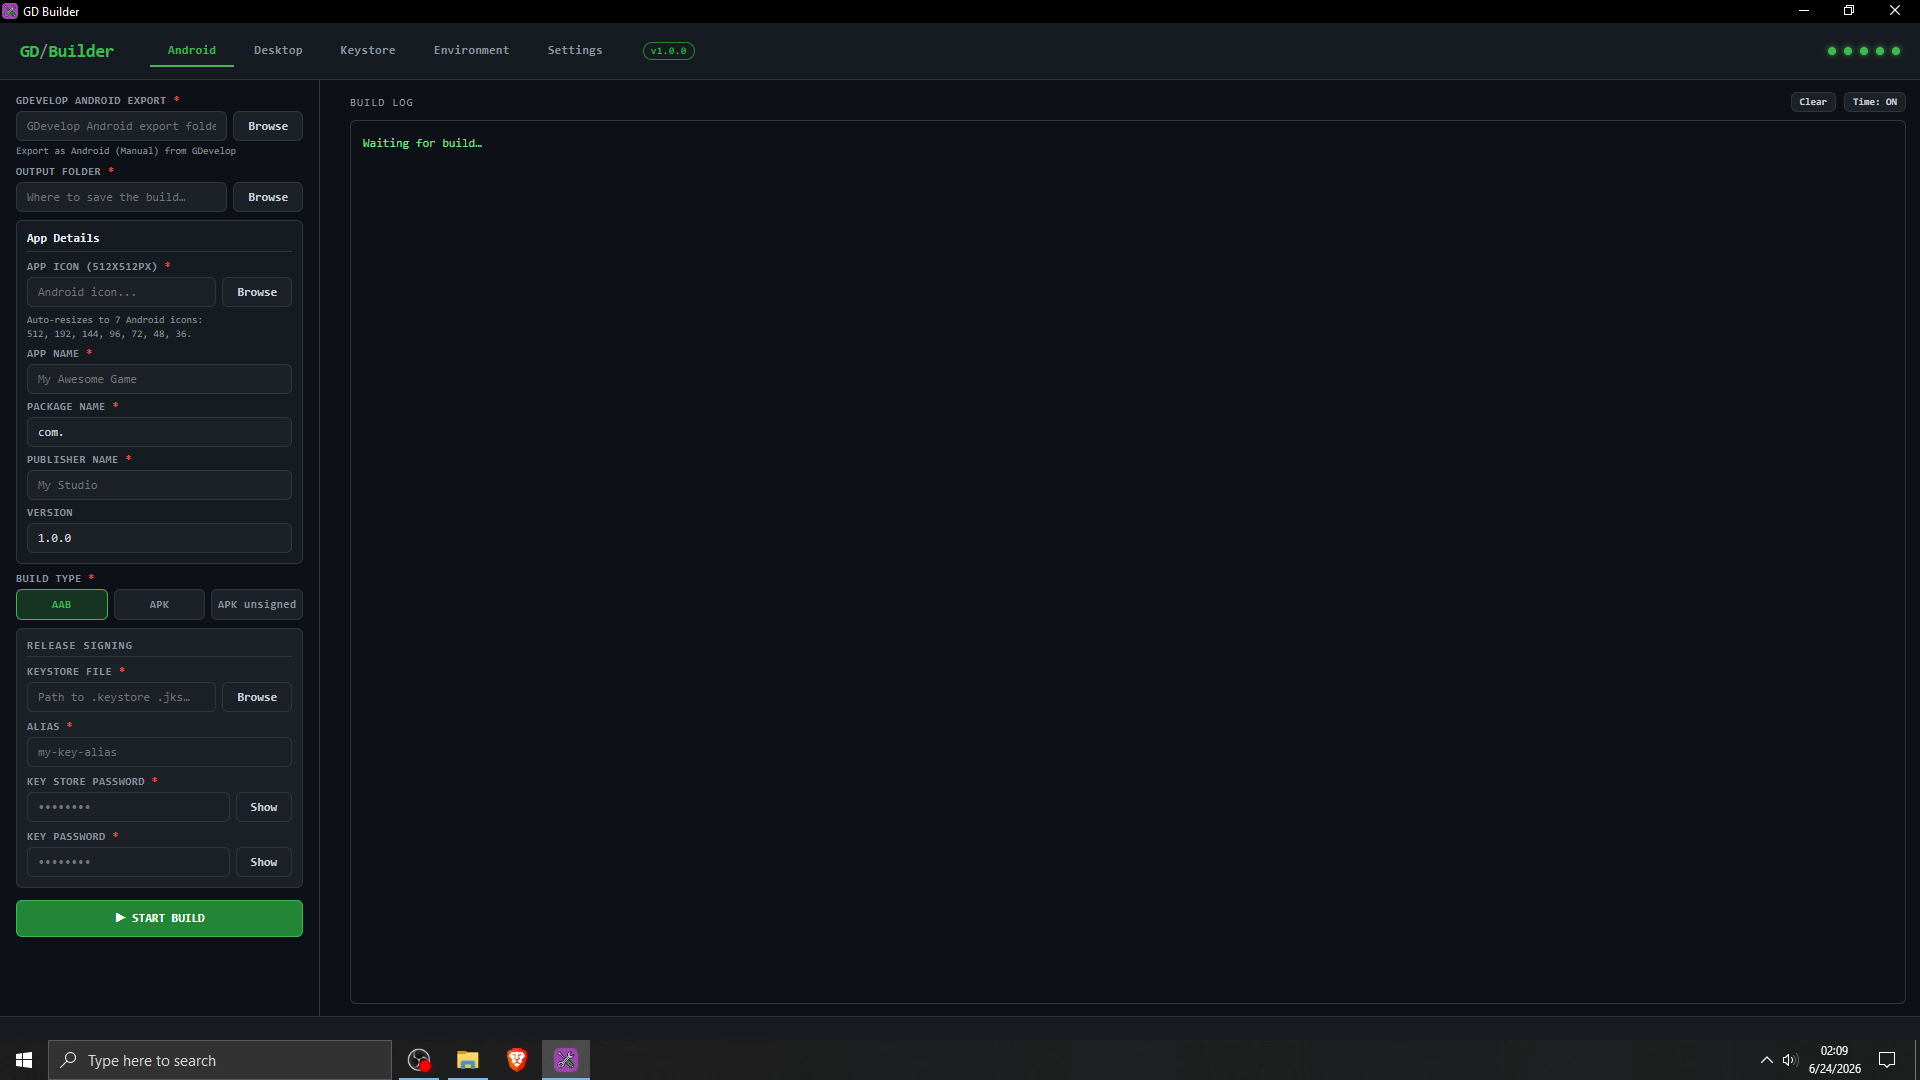
Android section
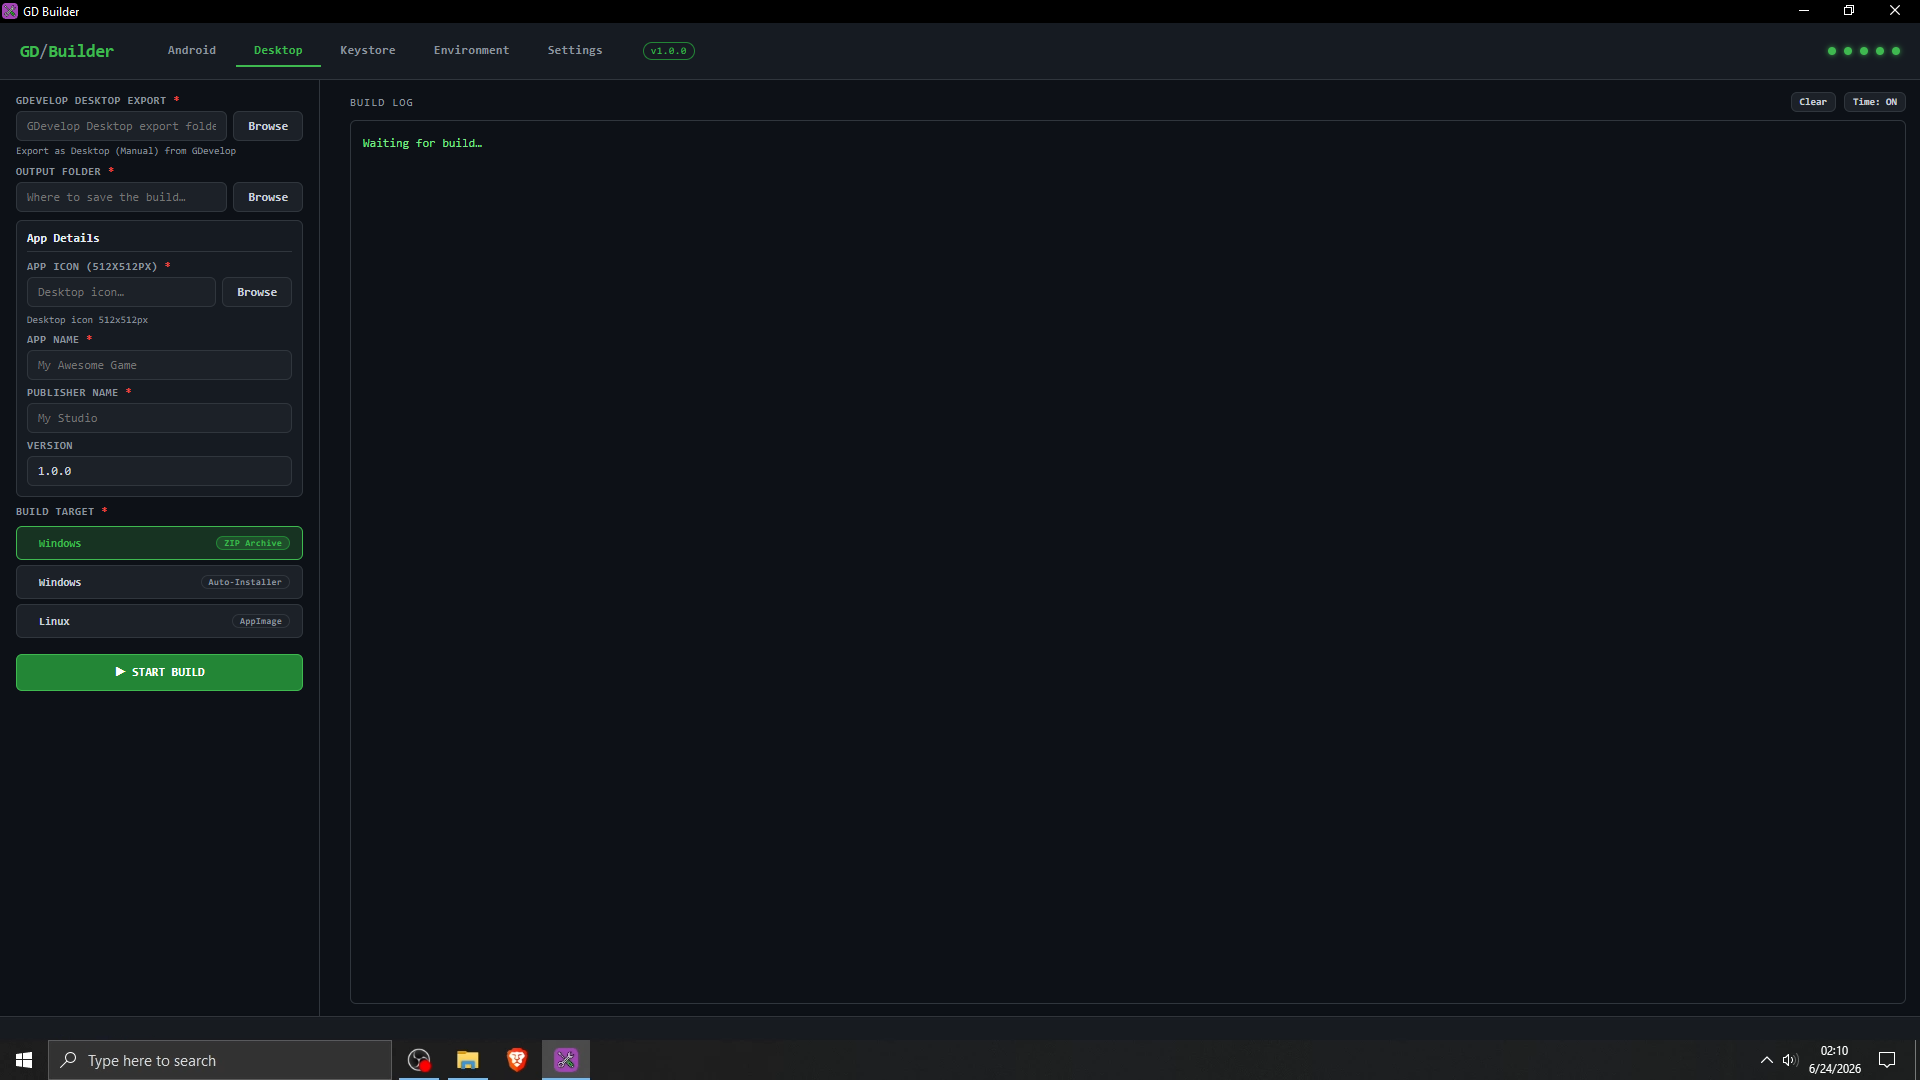
Desktop section
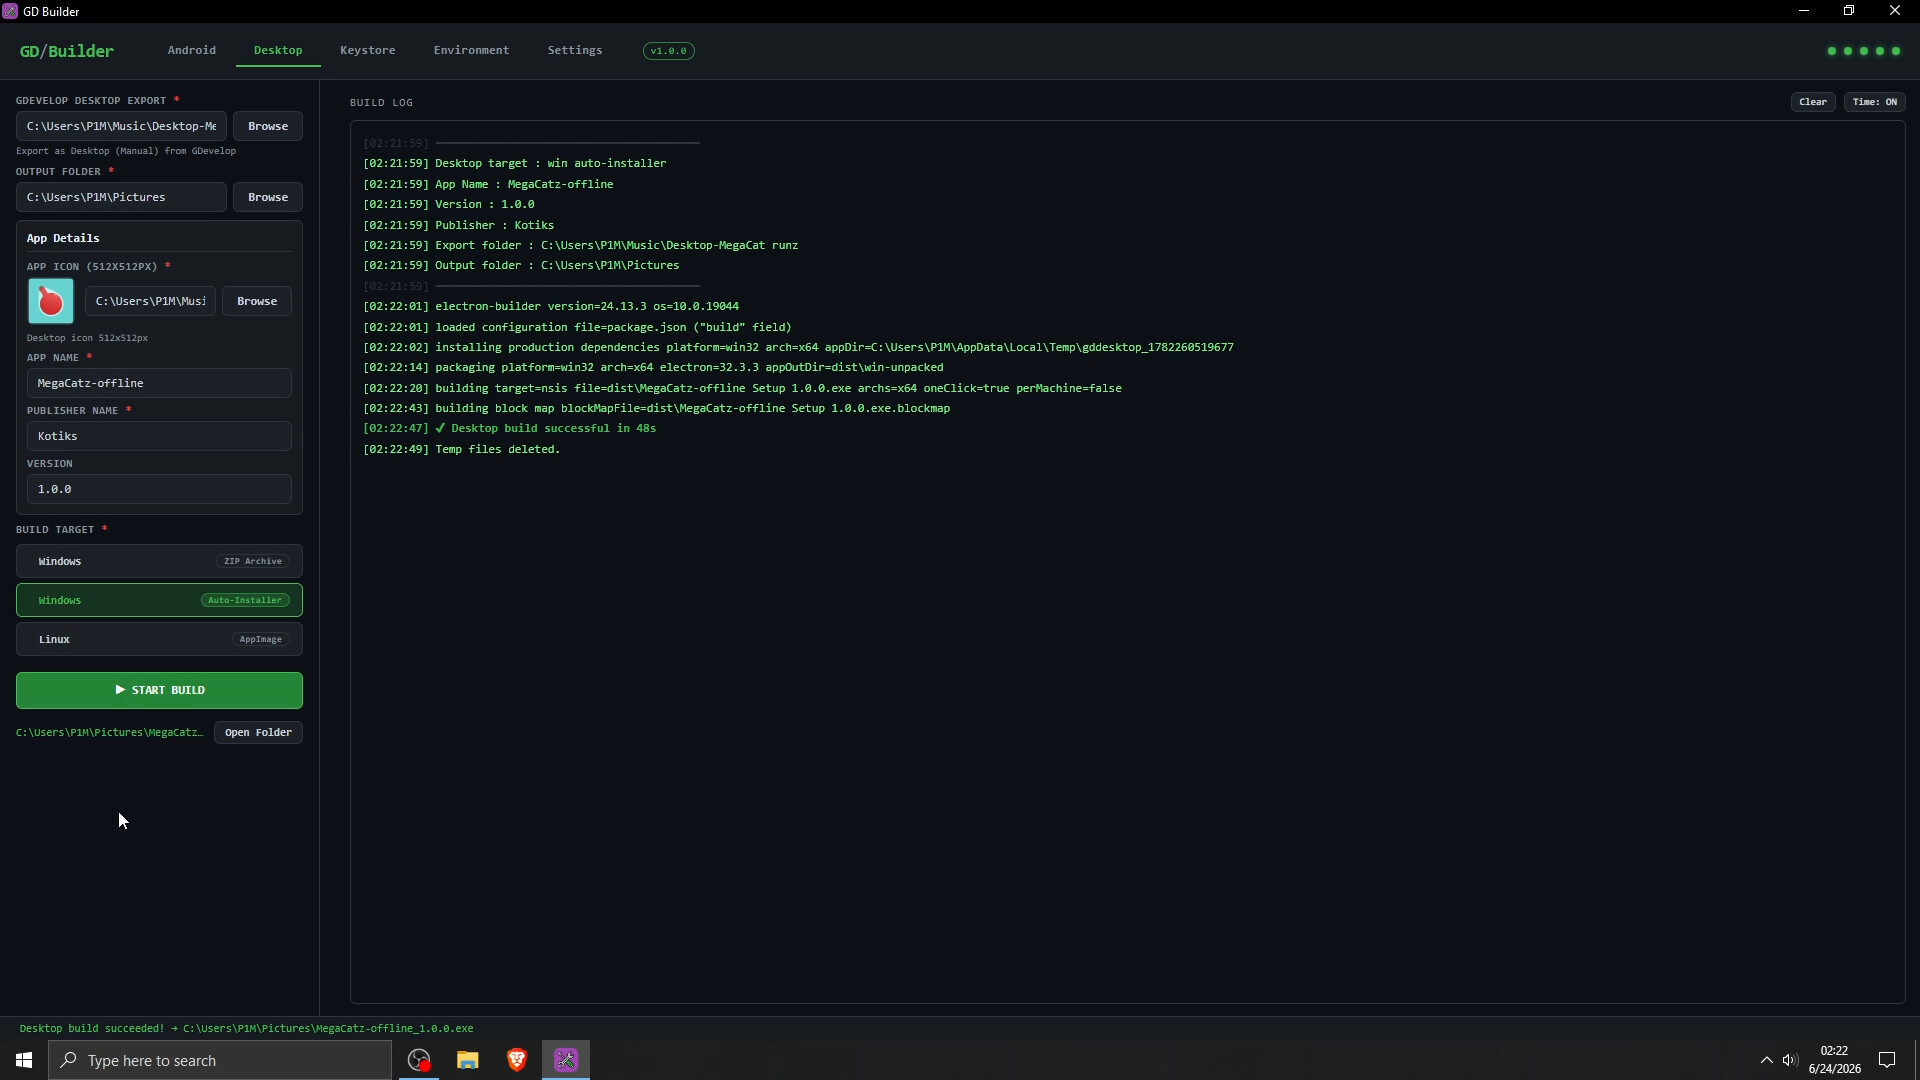
Here’s the final export
Android

Desktop
Desktop and Android installation set up
1: Here’s the link of the things we need and download them both GD Builder + Pre-bundled zip
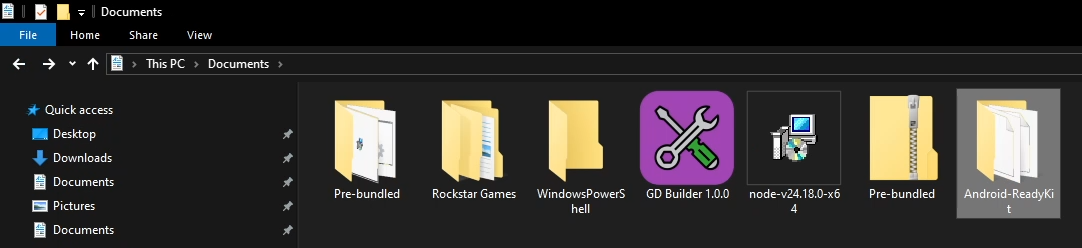
2: Open file explorer, put the Pre-bundled zip in Documents and Do not move it or rename it even after extraction
3: Download Node.js get above 22.12.0+ (Suggest getting that 24 LTS)
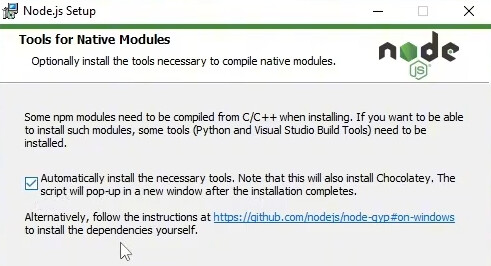
4: Install it and remember to Tick the automatic install necessary tools
5: Install GD Builder
![]()
6: After node is completely installed, open a new CMD and run npm install -g cordova
7: After Cordova is done, run npm install -g electron-builder@24.13.3
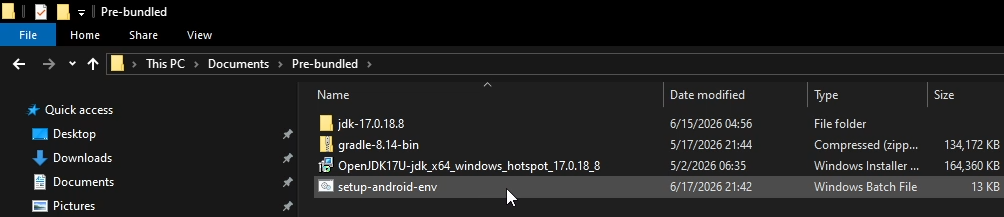
8: Open file explorer and extract the Pre-bundled zip. (You might need 7-zip app to extract it)
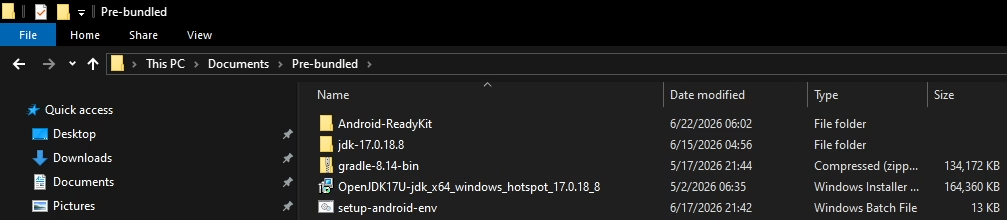
9: Install the OpenJDK
10: Take the Android-ReadyKit outside the Pre-bundled folder
11: Go inside GD Builder and go to the settings page

12: Go to the SDK Manager and Open SDK Manager

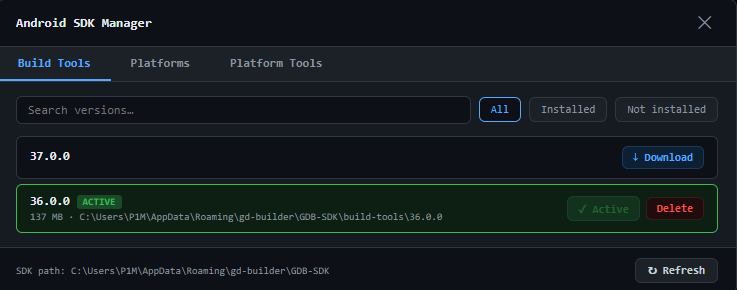
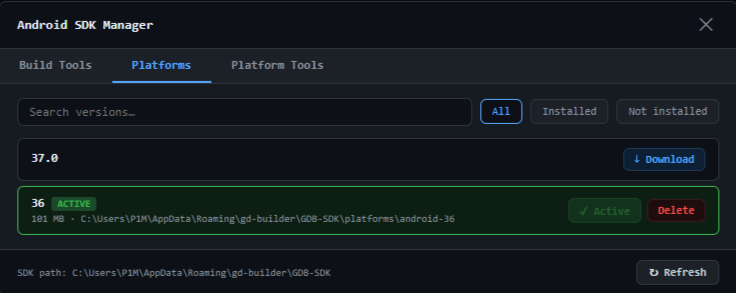
13: Download any Build-Tools, Platforms and Platforms-Tools you see in there
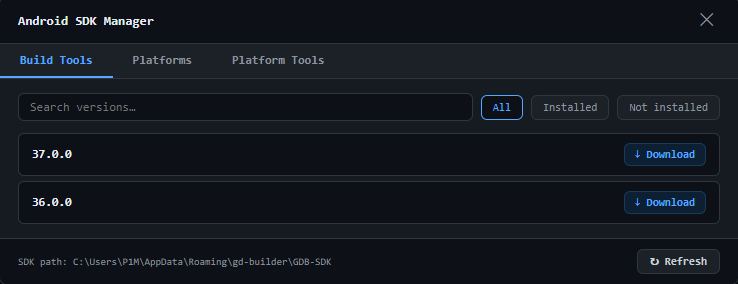
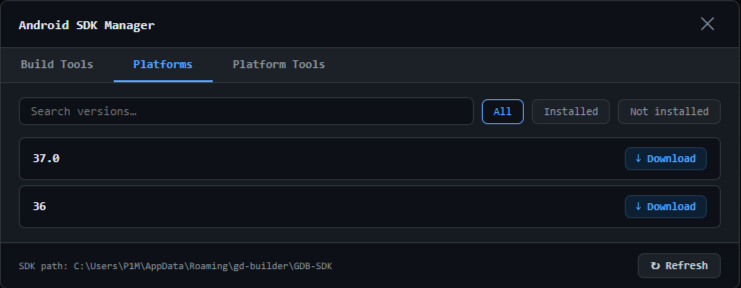
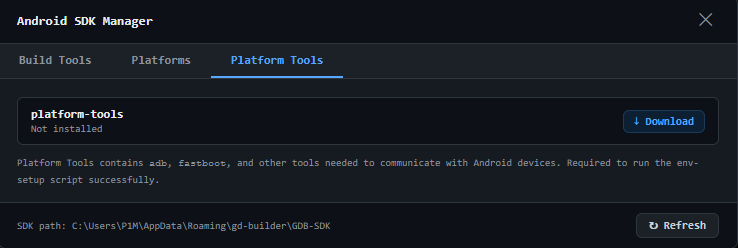
14: Set your downloaded choice stuff to active. Don’t worry about the Platforms-Tools it automatically gets selected upon installation
15: Go to Android Build Resources
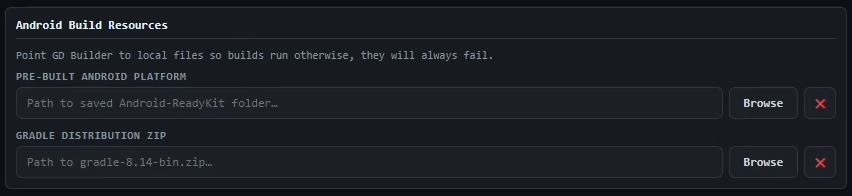
16: Click Browse on the Pre-built Android Platform, find and select the Android-ReadyKit

17: Should look like this after selecting it
![]()
18: Click Browse on the Gradle Distribution Zip, go inside Pre-bundled folder and select the gradle-8.14-bin.zip
19: Should look like this after selecting it

20: Run the setup-android-env bat file as ADMINISTER and it finishes click any key to close it
(It registers the Build-Tools/Platforms/Platforms-Tools to the system variable)
21: You can build, All Android types, Win-zip and finally Win auto-installer!
Linux installation and setup
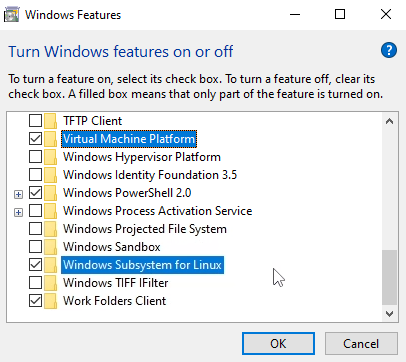
1: Check in Turn Windows features on or off if you have turned on these features in there
Virtual Machine Platform and Windows Subsystem for Linux Turn them on if they’re off for you and restart your PC
2: Once you’re back, open a CMD as ADMINISTER and run this command wsl --install and if there’s a pop up about confirmation click yes and wait a bit, then continue to 3 no matter what
3: If that fails or doesn’t do anything run this command then wsl --update and if there’s a pop up about confirmation click yes and wait a bit
4: Now we’ll install Ubuntu, run this command wsl --install -d Ubuntu while you’re the CMD as ADMINISTER
5: After sometime you’ll be asked to make username and password, do so then close that CMD
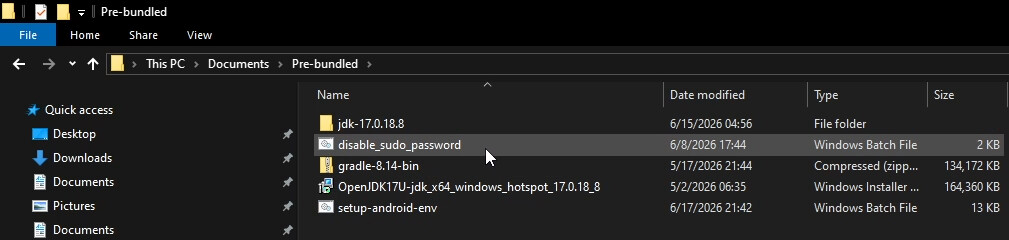
6: Open file explorer and go to the Pre-bundled folder
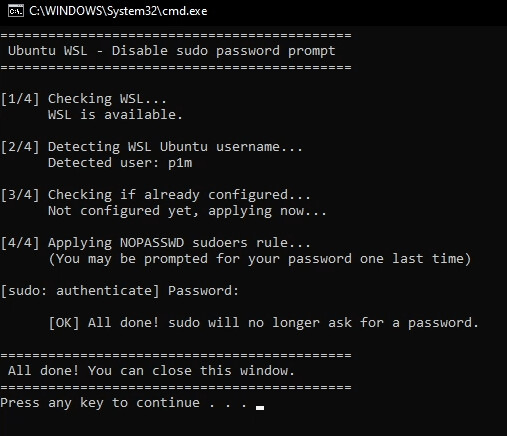
7: Run the disable_sudo_password bat file as ADMINISTER (It disables all this Linux stuff asking you password while later you’re to do builds + it doesn’t even ask you for passwords while you’re outside the app too)
8: You need to re-enter the password one last time and that’s it
9: Open WSL and run this command, curl -fsSL https://deb.nodesource.com/setup_24.x | sudo -E bash - && sudo apt-get install -y nodejs or if it fails for you try, curl -fsSL https://deb.nodesource.com/setup_22.x | sudo -E bash - && sudo apt-get install -y nodejs
10: Check the node version, node -v it should reply v24.x.x or 22.x.x
11: Now we just gotta set up user writeable npm global directory, run these commands 1 by 1
1. mkdir -p ~/.npm-global
2. npm config set prefix '~/.npm-global'
3. echo 'export PATH=~/.npm-global/bin:$PATH' >> ~/.bashrc
4. source ~/.bashrc
12: Check if you have already installed Electron Builder, run this command electron-builder --version
- If it does reply other than v24.13.3 run this command,
npm uninstall electron-builderand then do 12
12: If it doen’t say anything back for couple of secs, it means you don’t have it installed so run this command, npm install -g electron-builder@24.13.3
13: Close that WSL and open new one again
14: Recheck the Electron Builder version it must be v24.13.3
15: You can now build AppImage!
IMPORTANT NOTES:
Make sure you’re online while making the first builds, if you’re not it will simply do a half baked export and stop or just straight up not even start building.
Android: Build any of them (AAB, APK, or APK Unsigned) once while online. After that, you’re good to build all Android exports offline.
Desktop: Build each 1 of them 1 by 1 while being online (Windows ZIP, Windows, Auto-Installer and Linux-AppImage) After that, you can export them offline too.
For those who would like a video on the guide, here they’re GD Builder installation and guide videos
