This tutorial explains how to import a model into Blender and re-export it to GLB for use in GDevelop.
The first version of Blender to include the glTF 2.0 (GLB) exporter was version 2.80, this tutorial should work for any version above.
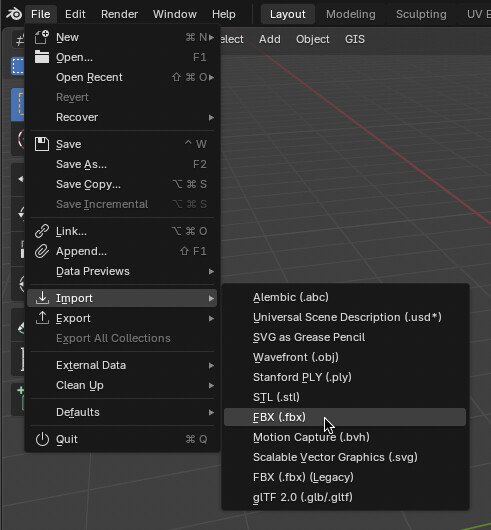
Step 1: Import
Go to File>Import and select the file type of the model you wish to convert.
Search using the build in file browser to locate your model file.
Step 2: Preparation
If you have not already deleted it, the default cube will still be present.
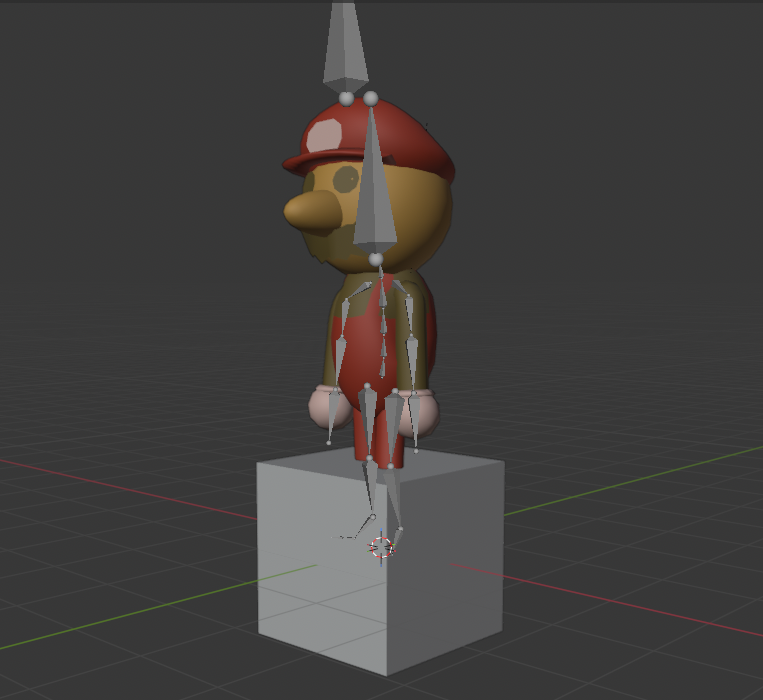
Use the left or right mouse buttons (depending on your configuration) to select the object, then press delete and confirm (if asked).
Ensure your models already have the proper textures and materials applied, as they transfer to the GLB format. If you have already verified this, you can skip the next step.
Step 3: Material Setup
Select your model the same way you selected the cube, and look to the side of the workspace.
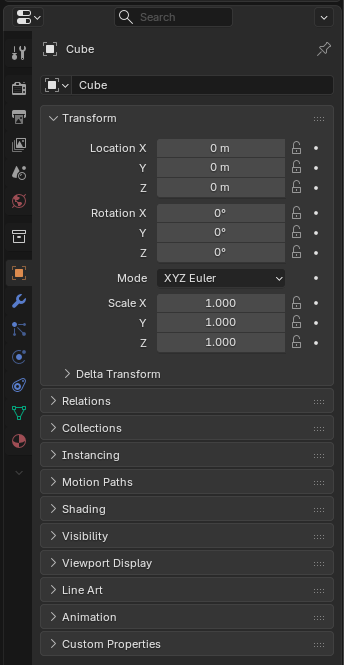
This is the Properties Editor, it lets you edit the properties of any selected object.
Once your model is selected (if the model has bones, select the mesh, not the armature), locate and press the ![]() (Material) icon.
(Material) icon.
For the sake of this tutorial, lets imagine that the wrong surface has been set on the material.
Instead of Diffuse or any other material, it should be a “Principled BSDF”, which will give you the most control.
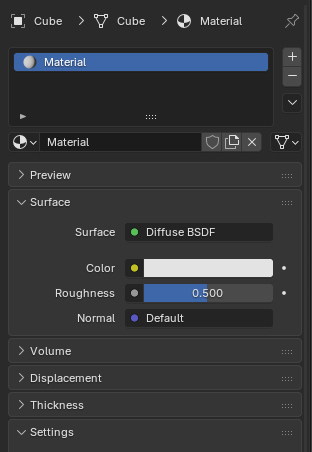
Select the surface, and from the drop down pick “Principled BSDF”. If you’re having trouble locating it from the large drop down, just press P for Principled.

From this large menu, you can change many things about the material of your model. Like how shiny, rough or metallic it is. I recommend pressing “Preview” drop down, so you can see how those changes should roughly look.
For now, lets try setting up an image texture as the “Base Color”.
Select the yellow dot ![]() next to Base Color, and press “Image Texture”.
next to Base Color, and press “Image Texture”.
Now, press “Open” and select the texture you want to use on the material in the same way you chose your model earlier.
This assumes that your model’s UVs are already set up to have this texture. If this is not the case and you just want a UV map to work off of, select the mesh of your model, press Tab to enter edit mode, and press the U key.
If the model is simple like a cylinder, cube, or sphere, select those projections. for any other object, select “Smart UV Project” or “Unwrap Angle Based”.
Step 4: Export
Go to File>Export and select “glTF 2.0”.
Everything in that menu should be mostly intact unless youre running into issues.
If everything went correctly, you could have something that looks like this in GDevelop.
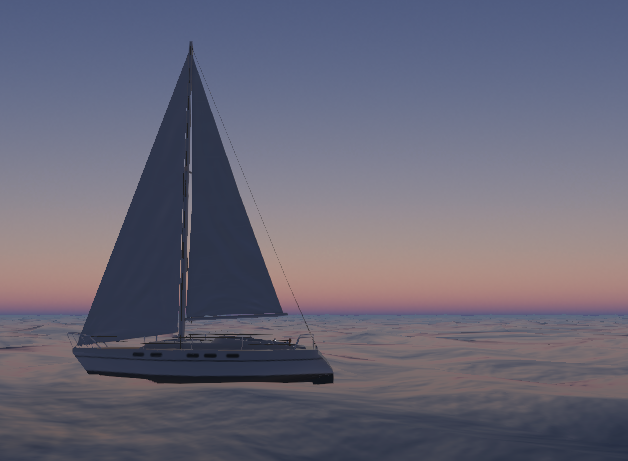
Note: This ocean was pulled off with a light displacement on the model for waves, and a normal map attached to the BSDF
Thank you for following, and if you need any help or run into issues, please ask.