I never did it so it is just a guess
But my most stupid idea is to lock your game into orientation you want it to be played in which in your case is portrait
Where for that one single level you want it to be landscape i would rotate camera on each layer like i think it will be +90 or -90
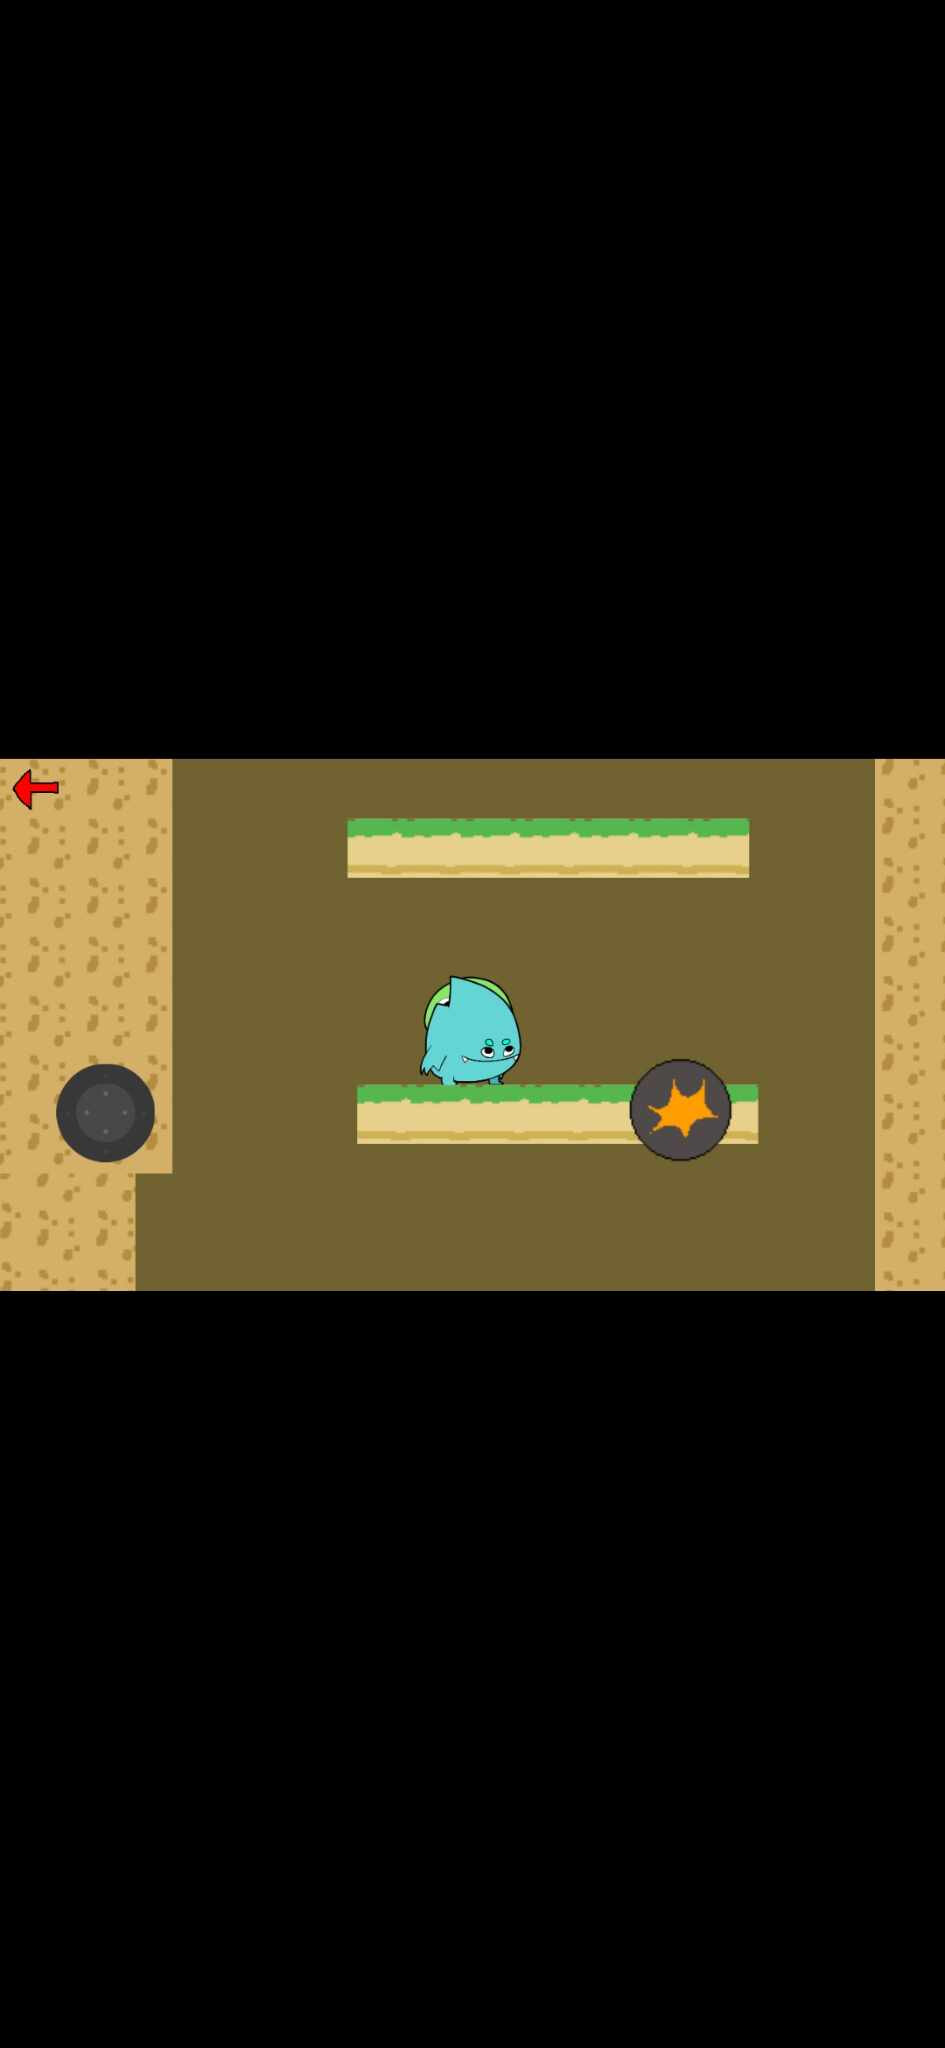
This is a crazy idea! I actually tried it and it kind of works. The bad thing is that I have to think how to calculate the position of buttons and some other things but it will do for now. Thank you! Still I wonder if there is a simpler solution. Technically there should be one
A quick and dirty way would be to scrap all that. Layout the level like a normal landscaped platformer. Install the smooth camera extension and add the behavior to your player. At the beginning of scene change the angle of camera to 90 or -90 on all layers involved in the subterfuge. Any reasonably intelligent person would react by turning their device the way you want.
Super easy, keep them on the UI layer where the camera is not rotated. Set them up within the normal Portrait Guide in the scene editor. But set them up as if the scene were to be rotated.
I use change position action to place my UI elements
For example if i have button in upper left i change its position to CameraBorderLeft()+10 CameraBorderTop()+10
Where +10 on X axis means 10 pixels to the right and on Y 10 pixels to the bottom
So you need to adjust that numbers to suit your needs
IF i would have button in bottom right then i change its position to
CameraBorderRight()-Button.Width()-10 CameraBorderBottom()-Button.Height()-10
And -10 on X axis here means more to the left and on Y it means more to the top
So again it to your needs
Where i also subtract Button Width and Height
Cause origin point of your objects (by default) is on upper left corner and that is what part is determined to be starting position of your object
So if you move something to camera border right it will its very first left pixel will start at camera border right
And rest of the image will go right so beyond it meaning off screen
That is why we subtract its width to move it to the left
This way it will be placed perfectly on right edge on screen and now we subtract 10
Which is offset to move it away from right border to the left
Where again you need to adjust these numbers to your needs
Like i said i never done this so this is again just my guess
Cause idk if you rotate camera does it should account for camera borders or not
IF it will make your UI elements you can use ON THAT SCENE with rotated camera
Not camera but SceneWindowWidth() or ScreenWidth()
Same for height
Where left border would be ScreenWidth()-ScreenWidth()
I mean this what you input in change position action on X axis
Same for SceneWidnowWidth
And same for height in both cases
So now you have all tools you need to adjust it to your needs
Maybe easier idea is to make separate layer for them
Place them as you want them to be i mean put them in correct places
And now you put them all into one object group for example UIElements
And you use rotate action to rotate them 90°
Where you would use what i wrote above to change their position to Camera Borders
So for example button (ui element) you want in game to be in upper left corer
In editor you put in upper right corner
And you only need to change its position via action to upper RIGHT corner
So CameraBorderRight() on X axis and CameraBorderTop() on Y axis
But by now i guess you would have idea how to do it